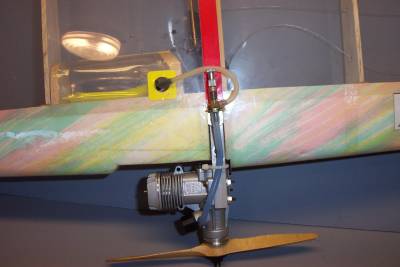
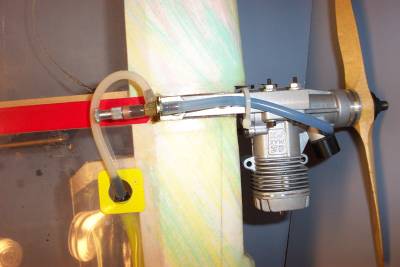
This is the system that I have used for years with remote needles and bladders (the needle is far away from the nose keeping it from damage). The little L shaped bracket is something I've used for years and have a drawer full (they're meant to hold shelves in cabinets) with a slight modification they make a good solid needle valve mount. You can use them with the OS type nva or K&B (I like K&Bs, very easy to set), they mount on the motor mount wherever you like wood or metal. This airplane is a Mejzlik Fast with an OS FX 25 with a blanked off Fox spray bar, this is a simple setup and will stay within speed limit rules.
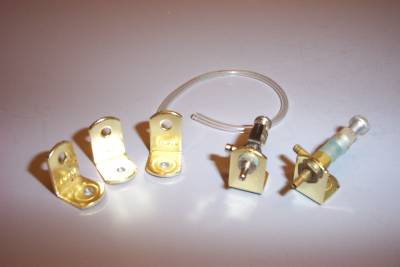
Here's some more shots of needle valve mounting and modified needle valves.
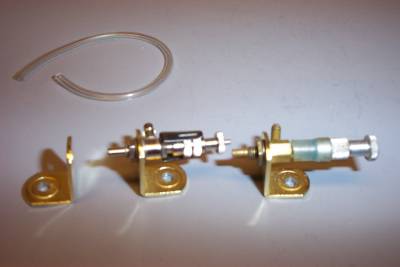
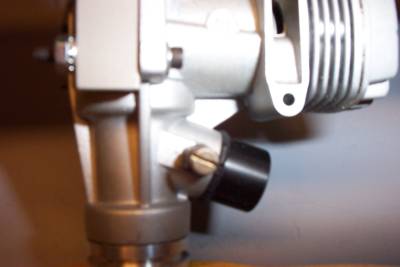
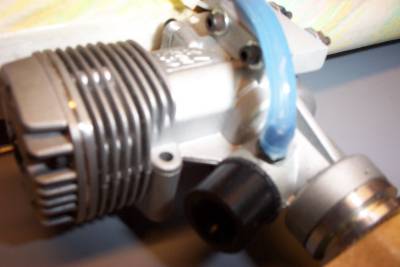
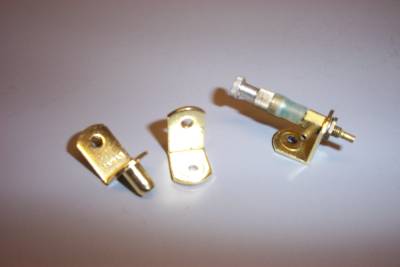
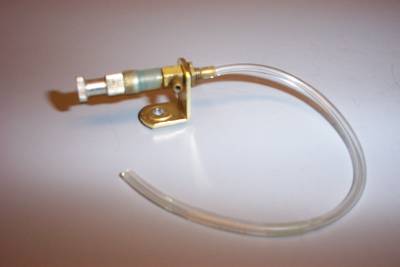
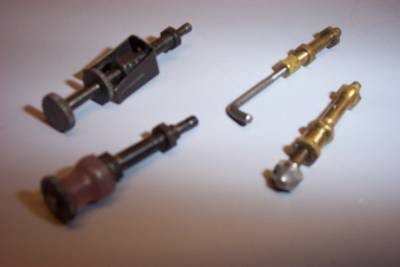
Photo #1 and 2-shows another way of using the little L bracket, this time on the motor mount bolt, some people like to mount them sideways on the motor mount mounting bolt which also could be done.
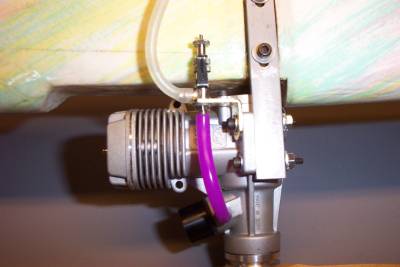
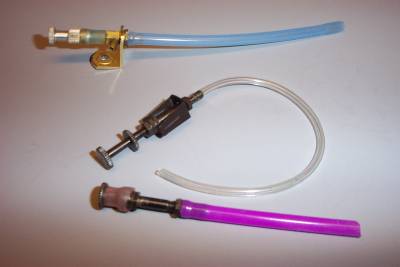
Photo 4 shows a very small tubing (meant for 1/2A engines), some needle valves the regular tubing tends to slide off; appling a small piece of this tubing over the needle valve (about 1/4" long) will prevent tubing from slipping off (very important with pressure systems).
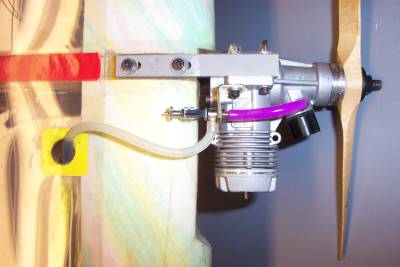
Photo 5-K&B nva with small tubing installed and regular tubing over it, stock Fox needle valve with small tubing (they are noted for tubing falling off) plus modified for combat.
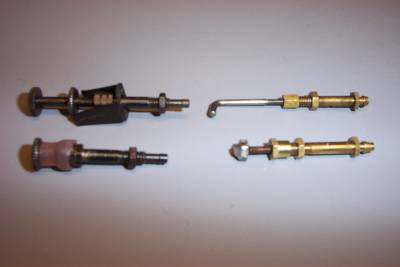
Photo 6 and 7-shows stock and modified Fox nva and also modification to Tiger type valves, in both cases this helps prevent breakage. The Fox valve, we've done away with the clicker and installed a piece of tubing over the needle valve and up over the spray bar nut (this prevents any air leakage with the corse threads of the Fox nva).
Anyone needing that small tubing, I would gladly give them a piece because I have a full roll which is a supply for 3 lifetimes considering you only use a 1/4" at a time; hope this may be of some help to someone.
Jim Carpenter